


Befestigung
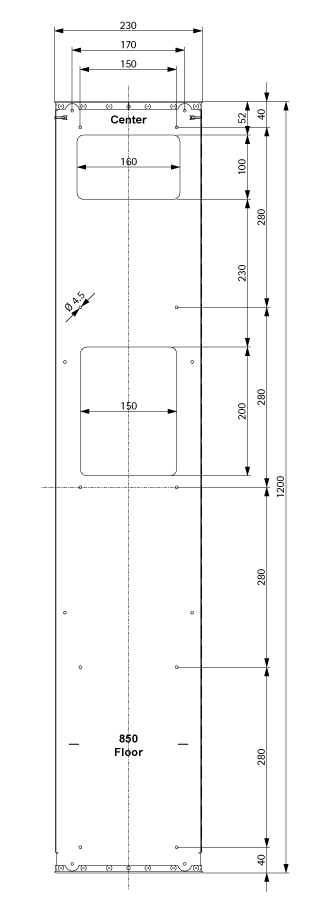
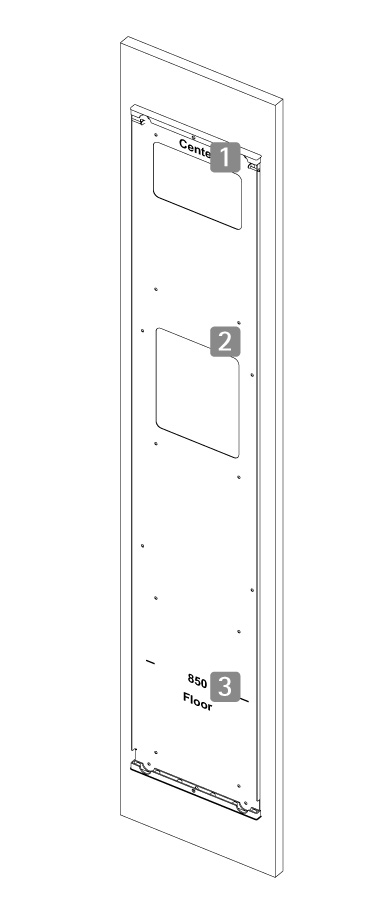
1 Durchbruch für Kabel oder D-Sub Kabel
2 Durchbruch für Notrufsprechanlage
3 Lage erste Tasterreihe
Notrufsprechanlage, Kabel bzw. D-Sub Kabel nicht im Lieferumfang enthalten!
Befestigungsmaterial zur Montage an Kabinenwand nicht im Lieferumfang enthalten!
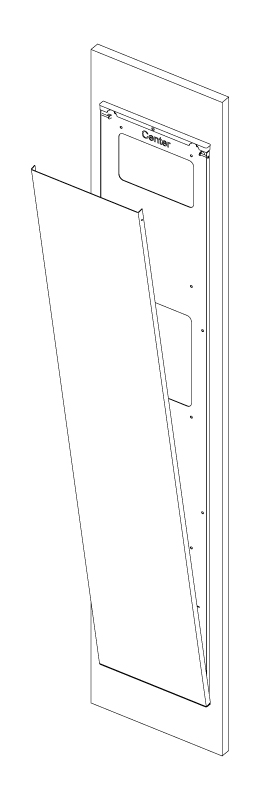
Frontplatte unten am Boden ansetzen und langsam mittels Saugheber zuklappen.
Vorsicht: Einklemmgefahr für Finger!
Tableausicherung
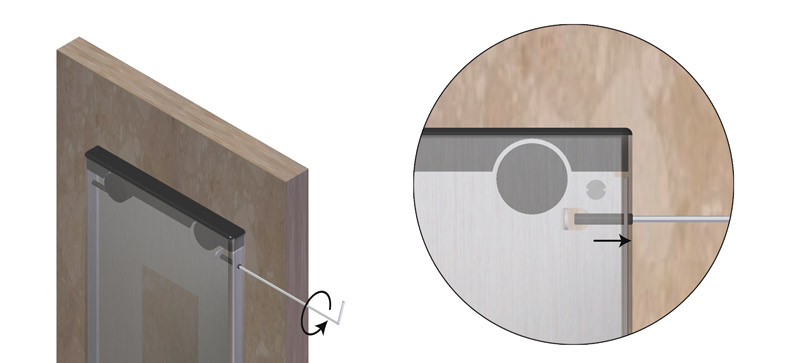
Gewindestift mittels 6-Kant-Schlüssel (SW 1.5) gegen den Uhrzeigersinn herausdrehen, bis dieser flächenbündig mit der Frontplatte ist.
Demontage
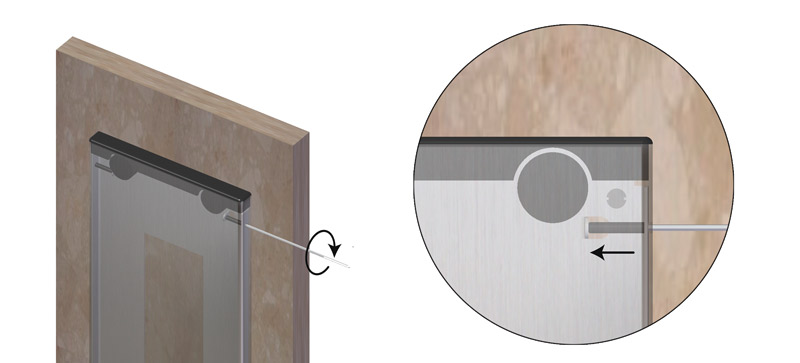
Gewindestift mittels 6-Kant-Schlüssel (SW 1.5) im Uhrzeigersinn bis zum Anschlag hineindrehen. Frontplatte mit einem Saugheber abziehen oder seitlich vorsichtig mit einem flachen Schraubendreher anheben.
How to enter info field data
- Click the link on the right side:

- In the appearing pop-up window click again on the link:

- A new window will open, here you can enter all necessary data for the info field:
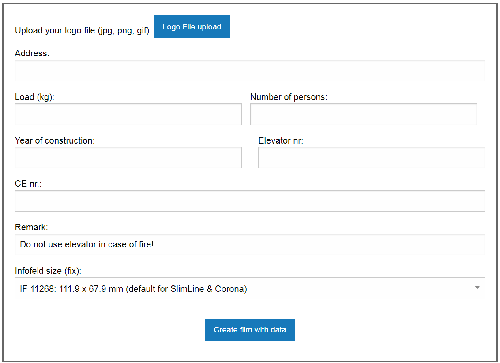
- Fill out all fields.
- If you have entered all data please click on the button: "Create film with data"
- On the next page you will see a preview of the image for the info field
- Below the image you will see a numeric code:

- Copy the code
- Go back to the product page. Paste the code in the text field on the right side:

- Now you can add the SlimLine COP to your basket.
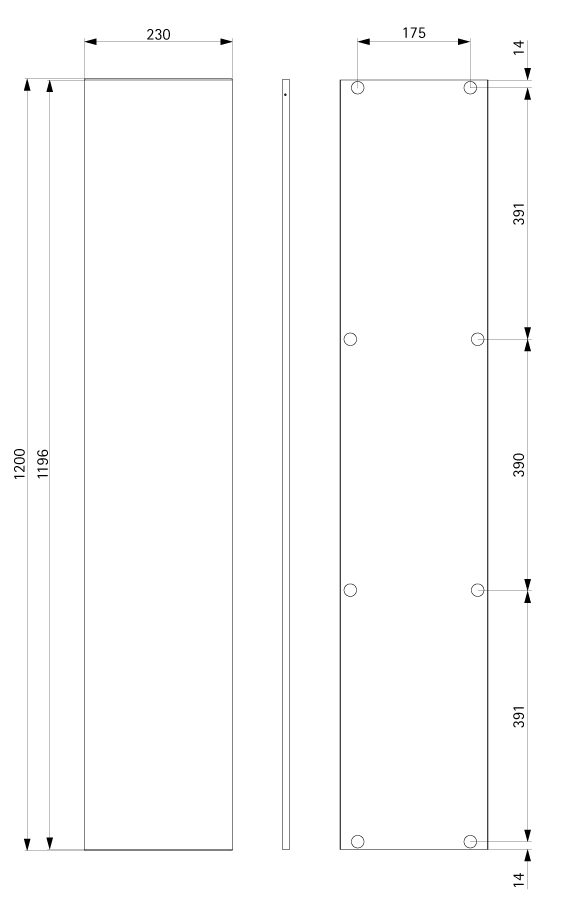
Dimensiones
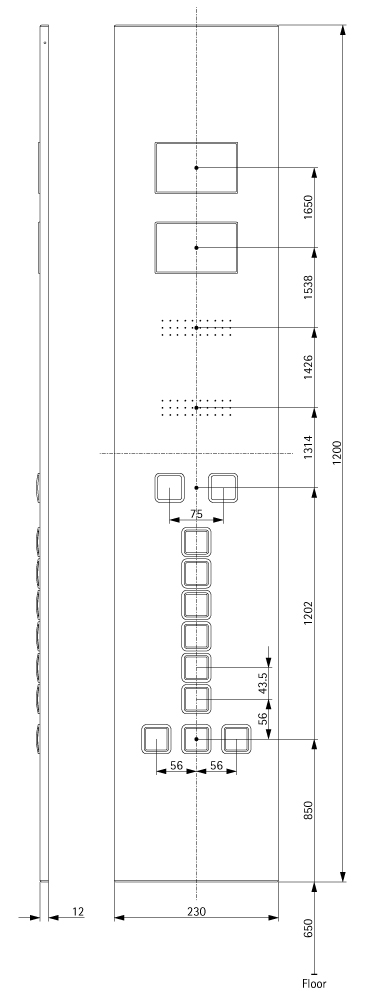
COP SlimLine BASIC 230 EC 6E-Q, IF oLM


